Technology - Google News |
- Google's call screening transcripts roll out to Pixel owners - Engadget
- With this $25 gadget, Amazon will finally get you to stop scoffing at the idea of a 'smart home' - CNBC
- How to Make Your Instagram Stories Only Visible to 'Close Friends' - Lifehacker
| Google's call screening transcripts roll out to Pixel owners - Engadget Posted: 02 Dec 2018 07:31 AM PST You no longer have to stare at your Pixel to see whether or not that Assistant-screened call was worth answering. Pixel owners have reported that Call Screen transcripts are starting to reach their devices, including older devices as well as the Pixel 3. Check the recent calls in your phone app, choose Call Details and you'll find a See Transcript option if you have the feature. If you do, you can review what a mysterious caller said and decide whether or not it's worth a follow-up. It's not clear how many people have Call Screen transcripts at this stage, so don't be surprised if you still have to be present for the call in the next little while. So long as you're patient, though, this could be helpful for weeding out the spam and responding only when there's a truly important call coming through. |
| Posted: 01 Dec 2018 01:00 PM PST  Earlier this year, Amazon launched a $25 smart plug that lets you control any outlet in your home by voice with an Amazon Echo. That means you can control any lamp, appliance or anything else that plugs into an outlet by speaking a phrase to Alexa like "turn on the living room lamp," without having to find a switch. It even lets you add other smarts, like a schedule so the light turns on and off at certain times. It's a really easy way to turn a "dumb" home into a smart one that you can control with your phone or by voice. You don't need to fiddle with complicated hubs or spend too much time trying to get something to connect to your WiFi network. If you can plug in a lamp, you can get the smart plug working. I'm going to show you how to get the most out of it. It's very simple. Think of it as a sort of adapter that adds the brains to anything you want to plug into an outlet. It will let you schedule an appliance to turn on and off at a certain time, enable you to turn it on or off even when you're away from home and let you activate it by speaking to Alexa. All you need to do is take the smart plug, plug in the appliance to one end —it makes the most sense with a lamp because it's a simple on/off appliance, but you can use anything from a humidifier to a fan — and then plug it into the wall. Once you've plugged it into the wall you'll see a blinking blue light the plug. That means it's time to get the smart plug to talk to your Amazon Echo. This enables all of the smart features I talked about above. Here's how to connect it:
If for some reason you didn't see the white box that said the plug is ready to use, you can follow the steps below. Don't worry, it won't take long either:
Now the plug is recognized by the Alexa app. That means you're finished with set up. I told you it was easy! There are two ways to control the Amazon smart plug. You can ask Alexa to turn the appliance on or off, or you can do it right from the Alexa app on your iPhone, Android phone or Amazon Fire tablet.
You can do that whenever you want, even when you're not home. It will still recognize the command and control your lights, fan or whatever you have connected to the smart plug.
Now that you have the smart plug set up and can control it by voice or from your phone, it's time to learn how to do a bit more with it. Amazon has a feature called "routines" inside the Alexa app that lets you do things like schedule the outlet to turn on or off at certain times. It's good if you want the lights to automatically turn on at 6 p.m. on weekdays, for example. Here's how to do that:
Play around and create other routines. If you want the lights to turn on and off when you come and go from home, for example, you can go to the routines page and select the option for "arrive or leave." It uses your phone to recognize when you're home and when you're not. That's all there is to it. The steps above might seem daunting, but you'll pick it up easily and will be able to control your smart plug and the devices you plug into it. I really like how simple the Amazon smart plug is, and that it doesn't require me to fiddle with a smart hub .(Though the Amazon Echo Plus has one built-in that doesn't require much setup either.) The benefit to a smart hub, however, is that you can add other things like Philips Hue lights and other appliances that require more than just an outlet to work. But, if you want to use your voice or phone to easily on a fan, holiday lights, the coffee maker or any other simple gadget with an on/off switch, then the Amazon smart plug is a really simple way to do that, no matter where you are. |
| How to Make Your Instagram Stories Only Visible to 'Close Friends' - Lifehacker Posted: 01 Dec 2018 05:12 PM PST 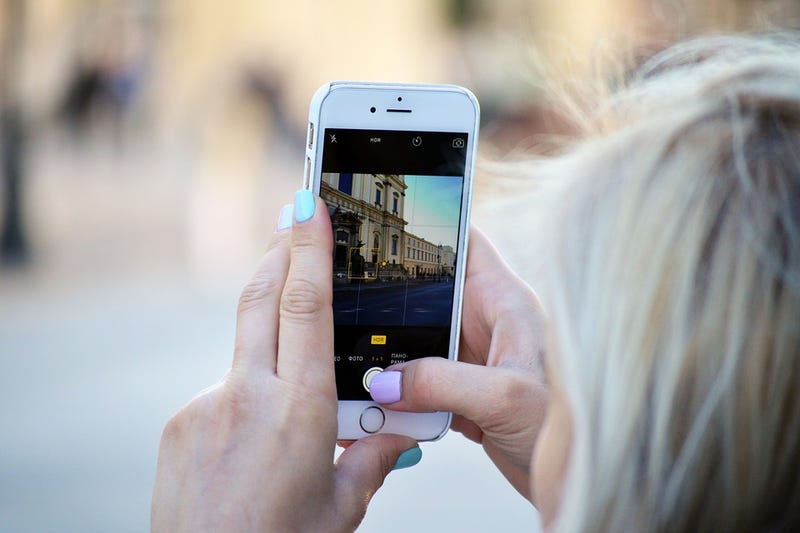 Instagram is one of those platforms, like Twitter, that I’ve always considered the content I post to be visible to the masses. Yes, I know both have a “private” option for accounts, but I’ve always thought the value in both was in interacting with people outside your circle. And then I started using Instagram Stories. While I have no problem with strangers commenting on and looking at my carefully selected Instagram pics, my Stories tend to be a bit more personal. This week Instagram rolled out a new feature so that you can keep those personal, while still keeping your account (and the stories you choose) public. Called Close Friends, the feature allows you to choose whether an image is shared with the masses or just people on your close friends list when you add it to a story. No one will know whether they’ve made the cut to your “close friends” list or not, so you can select whomever you’d like to be included. To use it, you first (obviously)have to create a close friends list. Do that by tapping your profile icon within the Instagram app and then tapping the hamburger icon at the top-right corner of the page. From there, select “Close Friends List” from the drop-down menu. You can manually add people by clicking the “add” button beside their name, you can also tap “Suggestions” to make things a little easier (Instagram will surface people you interact with often on the platform). Advertisement  Once you’ve made a list, you’ll start seeing a “Close Friends” icon when you create an Instagram story. Tap it, and the story will be sent to just your close friends. That’s it. Worth noting: “Close Friends” stories are designated with a green circle around them rather than a red one. So, while you won’t know that you’re specifically on a friend’s “Close Friends” list you will know a story you’re viewing was sent to only close friends (so you’ll be able to figure out you’re on someone’s list pretty quickly). Advertisement Also, worth noting: Images shared in “Close Friends” stories can’t be shared elsewhere, so you don’t have to worry about your cover being blown by a close friend sharing your pic on their stream. |

| You are subscribed to email updates from Technology - Latest - Google News. To stop receiving these emails, you may unsubscribe now. | Email delivery powered by Google |
| Google, 1600 Amphitheatre Parkway, Mountain View, CA 94043, United States | |
This post have 0 komentar
EmoticonEmoticon